Marble tiles can enhance the beauty of any home, radiating elegance and timeless allure. However, to preserve their splendor and ensure longevity, proper cleaning is essential. Marble, being a delicate natural stone, demands specific care to prevent damage. This article will guide you through the steps to safely clean your marble tiles, ensuring they retain their original beauty.
Before delving into the deep cleaning process, the initial step involves removing any existing sealant that may have deteriorated or worn away. This ensures a consistent finish and prolongs the cleanliness of your floors. The choice of product for this step depends on the stone’s origin, finish, and the type of sealant previously applied. This dust-free procedure utilises clean water, alkaline cleaning solutions, and abrasive powders. It not only restores your floor and grout to their former splendour but also minimises any mess in the process
Step 1: Gather Your Supplies
Before you begin cleaning your limestone tiles, gather the necessary supplies. You’ll need:
pH-neutral limestone cleaner
Warm water
Soft cloths or mop
Bucket
Soft-bristle brush
Mild dish soap (optional)
Sealer (for sealing your limestone after cleaning)
Dry towels
It’s essential to use a pH-neutral cleaner as acidic or abrasive products can damage the limestone’s surface.
Step 2: Dust and Sweep
Begin by dusting and sweeping your marble tiles to remove loose dirt and debris, preventing scratching during cleaning. Use a soft-bristle broom or a vacuum cleaner with a soft brush attachment for this gentle sweeping.
Step 3: Prepare the Cleaning Solution
In a bucket, mix warm water with a pH-neutral marble cleaner as per the manufacturer’s instructions. If opting for a homemade solution, add a few drops of mild dish soap to warm water. Ensure the solution is not overly soapy, as residue can lead to streaks.
Step 4: Test in an Inconspicuous Area
Before applying the cleaning solution to the entire surface, test it in a small, inconspicuous area to ensure no adverse reactions or discoloration. After application, wait a few minutes, then rinse and dry the test area.
Step 5: Clean the Marble Tiles
Dip a soft cloth or mop into the cleaning solution, wring it out to avoid excessive moisture, and gently clean the marble tiles in small sections. Avoid excessive pressure, as marble is porous and can be damaged by abrasion. For stubborn stains, use a soft-bristle brush, but be cautious not to scratch the surface.
Step 6: Rinse and Dry
After cleaning, thoroughly rinse the tiles with clean water to remove any residual cleaning solution. Ensure all cleaning solution is completely removed, as leftover residue can damage the stone’s surface over time. Dry the tiles with clean, dry towels to prevent water spots.
Step 7: Optional: Seal Your Marble Tiles
Marble is a porous stone, making it susceptible to stains and moisture absorption. To protect your tiles and maintain their appearance, consider applying a marble sealer to protect your tiles and maintain their appearance. Follow the manufacturer’s instructions for application and reapplication frequency
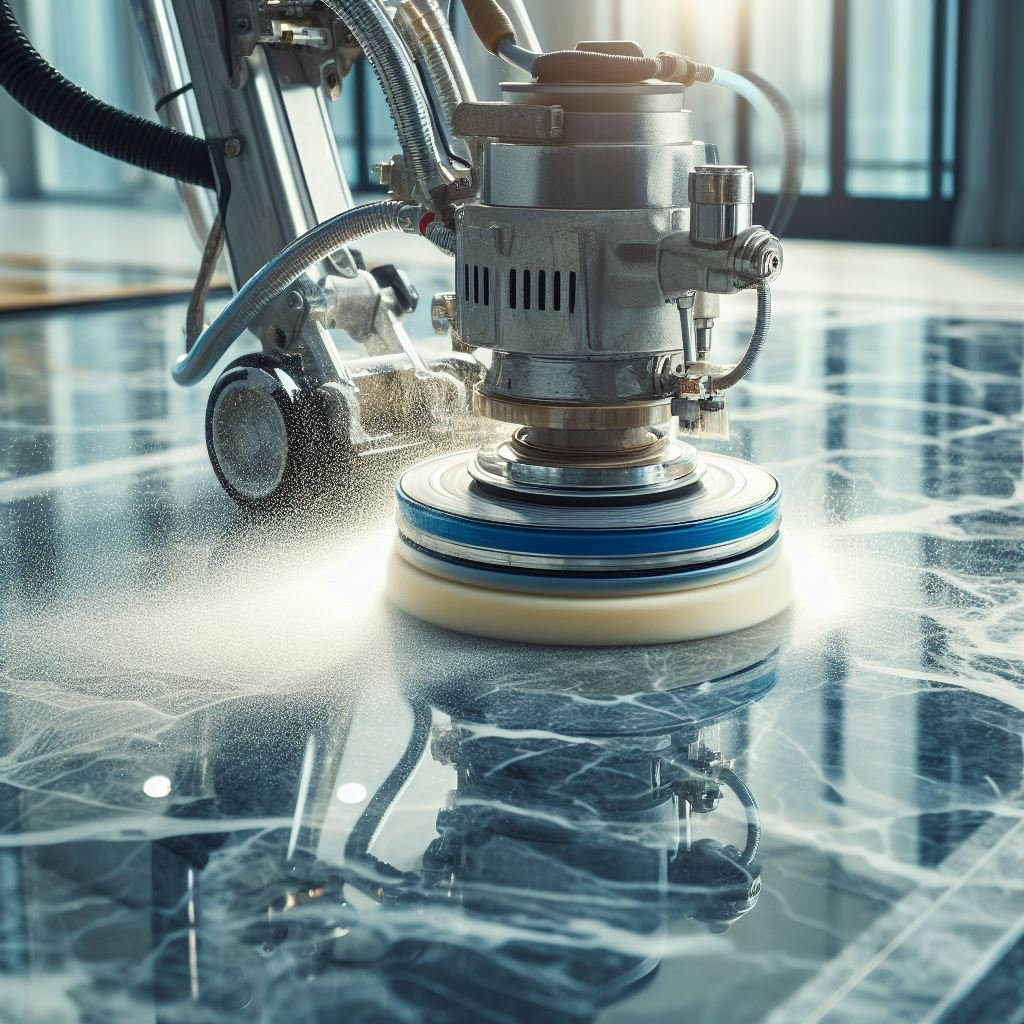
When contemplating cleaning your marble floor, understanding the range of available services is crucial.
Professional cleaning penetrates deep into the pores of your marble floor, eliminating accumulated dirt in grout lines, offering a cost-efficient rejuvenation of the stone’s surface. On top of that with the specialised equipment we can further restore damage, etching, scratch removal and bring your floors back to a brand new look. Interested?